
Capturing the Magic: How to Photograph the Northern Lights
Are you planning a trip to see the northern lights? Maybe you’ve seen gorgeous photos of the aurora online and wanted to try your hand at taking some yourself. However, getting that amazing northern lights shot takes some preparation. These tips will help you capture amazing Arctic memories from your trip like a pro!
Table of Contents
How to Photograph the Northern Lights
How to Photograph the Northern Lights
Find the perfect location
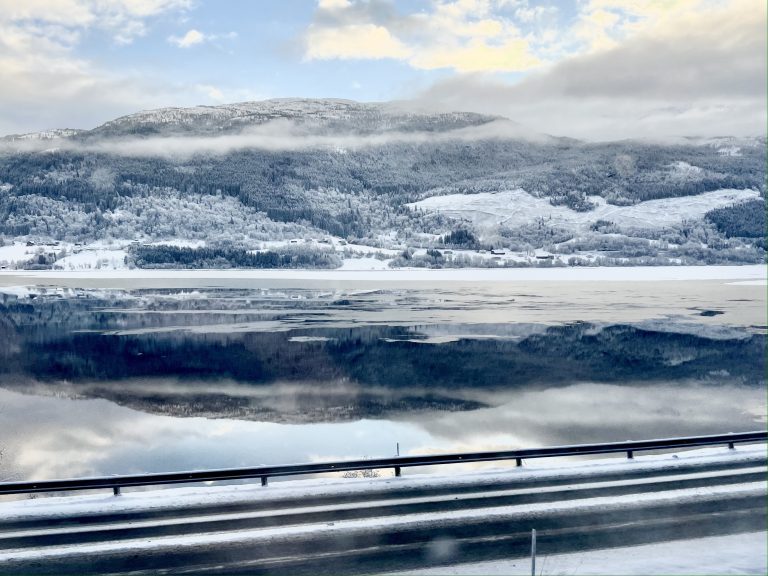
Location is key when photographing the northern lights. Choose a spot away from city lights and light pollution, preferably in a remote area with a clear view of the northern horizon. In addition, try to find locations with foreground elements such as mountains, trees, or bodies of water. Making the northern lights only part of your photo, rather than the entire focus, will add depth to your images and make them more interesting.
Check the local weather and aurora forecast
Keep an eye on the weather forecast and aurora activity predictions before heading out. Ideally, you’ll want clear skies and high aurora activity levels for the best chance of capturing stunning displays. Many websites and apps provide real-time aurora forecasts, which can be very useful in helping you catch this sometimes-elusive phenomenon. Personally, I use the Aurora app!
Pack the right gear
A sturdy tripod is essential for capturing sharp images of the northern lights. This is because long exposure times are often necessary. You may also want to use a remote shutter release to make sure that motion is not being introduced when you take the photo.
A camera that allows you to use manual settings and shoot in RAW format will give you the most control over your images during both shooting and post-processing. In addition, a lens with a fast aperture (f/2.8 or wider) will allow more light to enter the camera sensor.
Adjust your camera settings
Start by setting your camera to manual mode with the following settings.
- ISO: Begin with a moderate ISO setting (e.g., ISO 800-1600). Increase the ISO if the aurora is faint, or decrease the ISO if it’s bright.
- Aperture: To let in more light, use the widest aperture available on your lens. If your lens allows it, f/2.8 is a good starting point.
- Shutter speed: Experiment with exposure times ranging from a few seconds to several seconds, depending on the brightness of the aurora and the desired effect. A good starting point is 15 seconds. Exposures longer than 20 seconds may cause star trailing.
- Set your lens to manual focus and adjust it to infinity (∞) to ensure a sharp focus on the aurora.
Compose your shot
To take more interesting photos, consider your composition and the placement of the northern lights in relation to the foreground elements. Experiment with different angles and perspectives, and try incorporating natural features like trees, mountains, or reflections in water to add context and depth to your photos.
Experiment and be patient
Photography is all about experimentation, so don’t be afraid to try different techniques and settings until you get the perfect shot! Be patient and allow yourself plenty of time to play around, but be aware that the northern lights can be unpredictable and may appear or fade away suddenly.
Post-processing
Once you’ve captured your images, use a post-processing software like Adobe Lightroom to fine-tune exposure, contrast, color balance, and sharpness.
…
Photographing the northern lights requires careful thought and planning. However, the resulting memories of your trip are more than worth it! I hope you enjoy these tips on how to photograph the northern lights and use them to create your own stunning images.
If you are traveling to see the northern lights in Norway, check out this post that lists more winter activities you can enjoy!
…
This post may contain affiliate links. If you make a purchase after clicking on an affiliate link, I may earn a small commission at no cost to you. All opinions are my own. Thank you for supporting This Wild Planet!